AI Video Character Consistency: A Practical Workflow
A consistent character stays recognizable when the camera, action or location changes. Start with approved references, generate short shots, then compare them before assembling your story. This guide connects the existing character sheet and video tools; references guide appearance but cannot guarantee identical results.
LumiYingUpdated
Choose the input that matches your shot
A reference sheet explains a character. A starting frame also sets the composition. Choose deliberately so a grid of character views does not become your opening shot.
Build and review a small sequence
Start with one character and a simple action. Keep the approved images, prompt, model and settings together so you can reproduce the input for the next shot.
Approve the character before adding motion
Choose a clear portrait and full-body view. With Character Sheet, upload one reference or describe the character, then inspect the generated views. Reject conflicting faces, clothing details or proportions before reusing the sheet.
Write down the features that must stay
Record face shape, hairstyle, outfit colors and distinctive accessories. Keep this short identity description unchanged across shots. If the story calls for a new outfit, save it as a separate approved version.
Plan each shot around one visible action
Write the location, framing, action and camera move separately from the identity description. Prepare a full-frame scene image when using Image to Video; crop or edit a selected view yourself instead of passing a whole reference grid as the starting frame.
Generate a short test with the same references
Open the appropriate video tool, attach your approved inputs and choose the supported settings. Check the displayed credit cost before generating. Keep model and visual style stable while testing a new action or location.
Compare before continuing
Watch the entire clip and compare its beginning, middle and end with the approved character. Then compare neighboring shots. Keep usable clips, revise one cause of drift at a time, and assemble the selected footage in your video editor.
Keep identity separate from the shot prompt
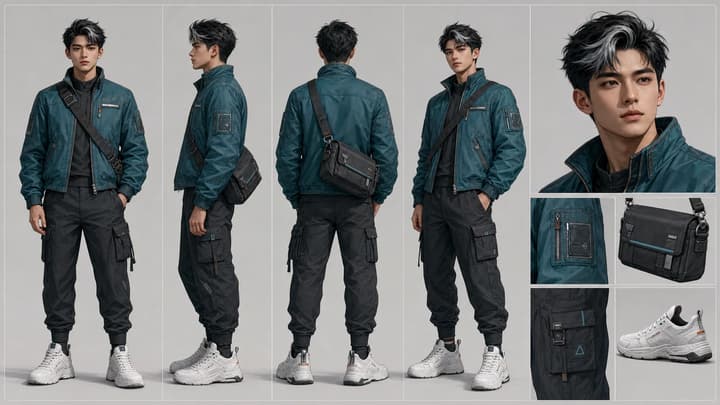
These writing examples use a courier in a teal jacket. Adapt them to your own approved images. The reference-sheet illustration shows what to inspect; it is not evidence of a generated video result.
1. Prepare the character reference
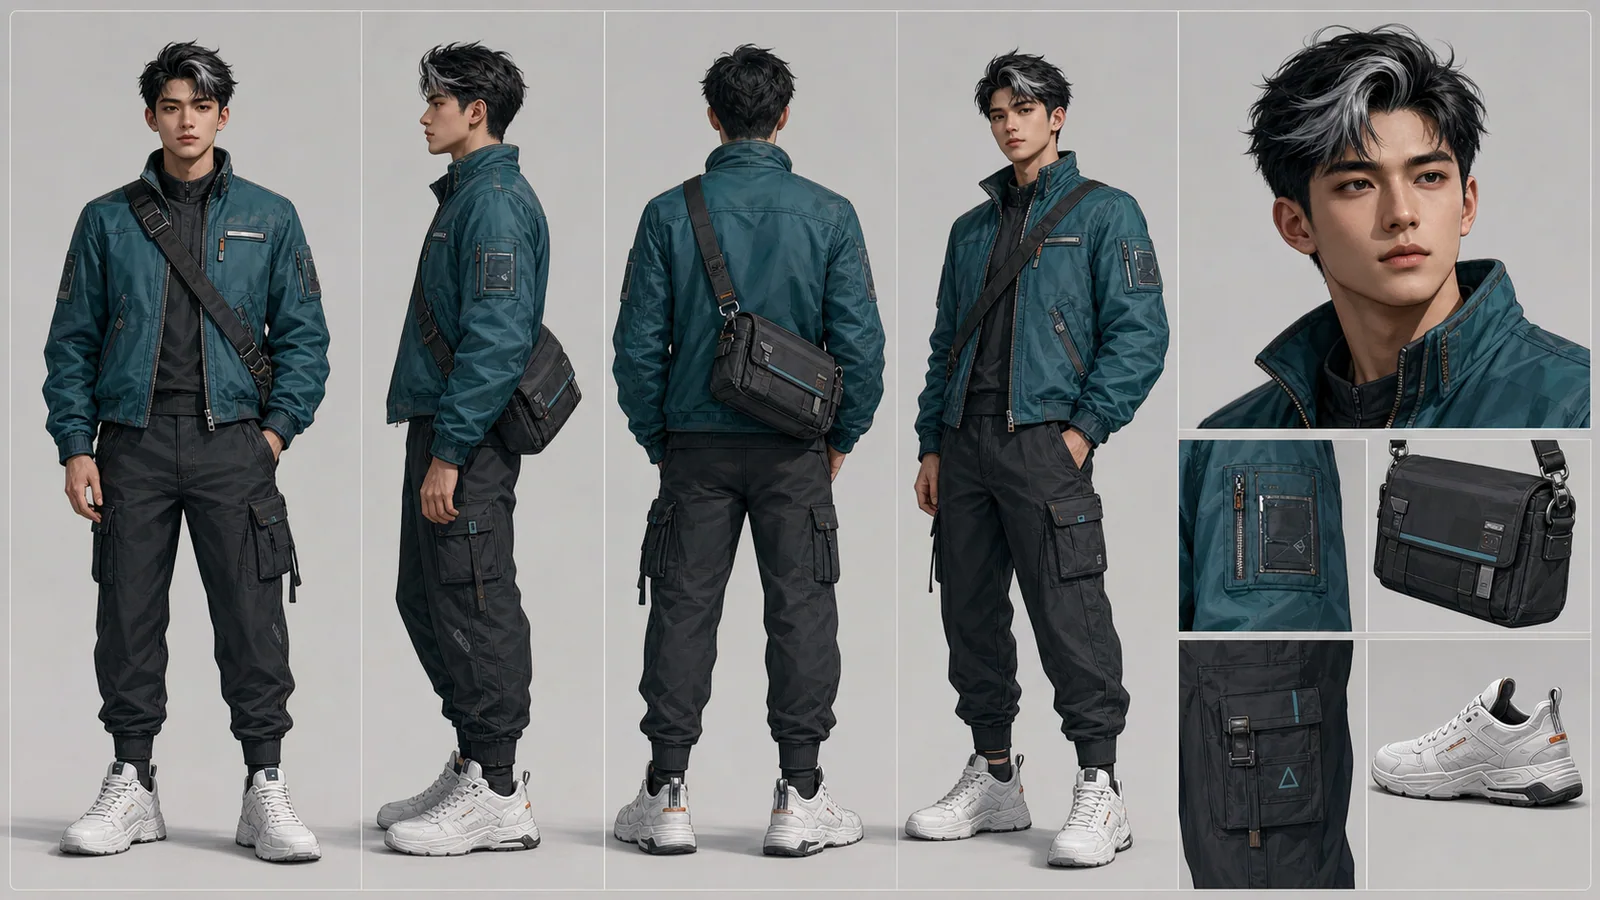
An original courier with short black hair, a dark teal jacket, black cargo trousers, white high-top shoes and a black crossbody bag. Keep the face, body proportions and outfit consistent across the views. Plain neutral background and even lighting.
Click Create character sheet to load this prompt. You can add one character reference or start from the description. Inspect the face, jacket cut and bag strap in every view.
Create character sheet2. Animate one approved scene
The courier takes one step forward and pauses, holding the bag strap. Fixed medium shot, gentle natural motion. Keep the face, short black hair, dark teal jacket and black crossbody bag as shown in the starting image.
Click Generate a video to load this prompt, then upload one approved full-frame scene image. If the bag or face changes, reduce movement and check the input before adding another action.
Generate a video3. Move the same character to another location
Use the uploaded courier image for character identity and clothing. Place the same courier on a quiet station platform in soft daylight. Medium shot: the courier looks toward the approaching train. Keep the short black hair, dark teal jacket and black crossbody bag. Slow camera push-in.
Click Generate with references to load this prompt, then upload your approved character reference. If you also add a station reference, state its role as the setting; do not ask it to redefine the character.
Generate with referencesFix the visible mismatch before adding complexity
Review against the approved source, not only the previous generation. Reusing a drifting output can carry the mistake into later shots.
Continue with your approved character
Choose the tool for your current input, or use the companion guides for detailed preparation.
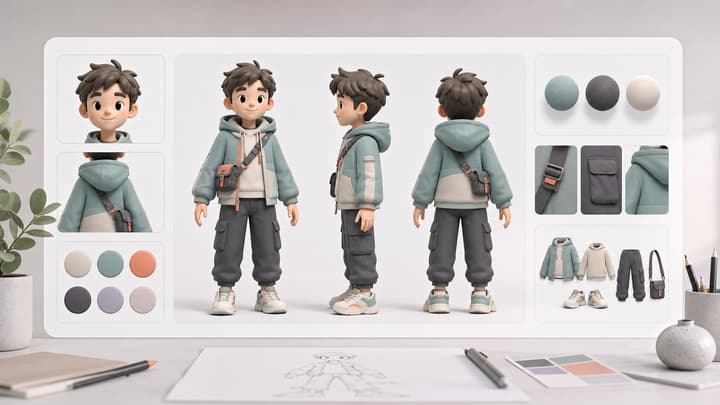
AI Character Sheet Generator
Create and inspect multiple character views.

Image to Video AI
Animate one approved scene image.
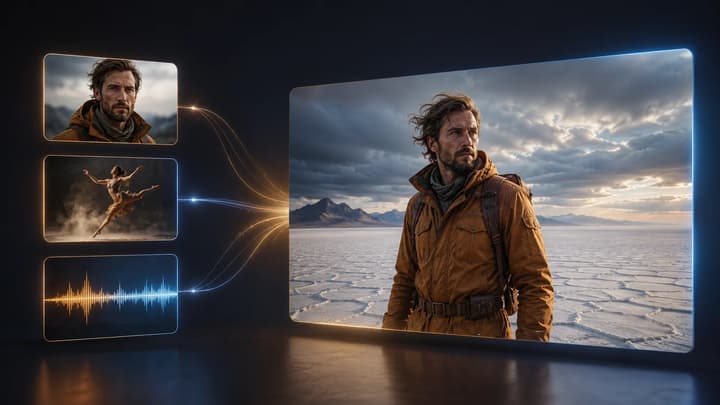
Reference to Video AI
Guide a video with supported character and scene references.

AI Storyboard Generator
Plan the visual beats before generating motion.
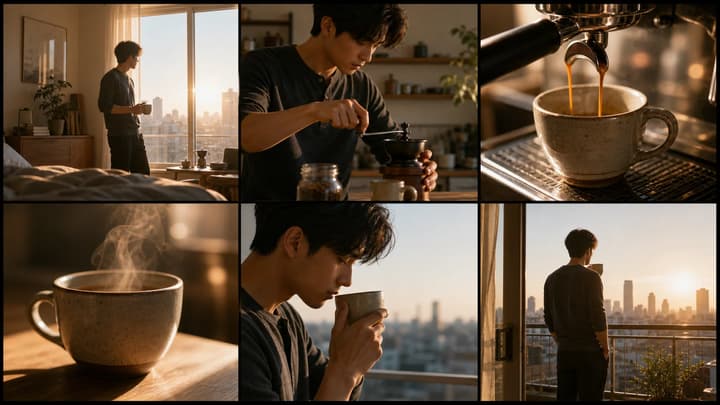
Storyboard to Video AI
Use a panel sequence as a short video's shot plan.
Character Reference Sheet Guide
Choose the views and details for a useful reference sheet.
Character consistency questions
Can a prompt alone keep the same character?
Repeating a name or writing ‘same character’ does not attach the previous image to a new request. Reuse approved visual references and a stable description, then review the result.
How many reference images should I use?
Start with the smallest clear set that shows the features needed for the shot. Character Sheet accepts one optional reference. Video limits depend on the selected model and mode; follow the uploader rather than assuming every model supports the same count.
Should I animate the entire character sheet?
For a single-scene image-to-video shot, first prepare one full-frame image. A sheet can guide a supported reference workflow, but it is not automatically split into separate clips.
What changes when two characters share a scene?
Give each character a distinct approved reference and describe their position and action. Test each separately first. Similar outfits, crossing bodies and exchanged props make it harder to detect and correct identity swaps.
Does this guarantee consistency or include free generation?
No perfect identity lock is promised. Existing tools generate with credits, and the price appears before submission. Opening this guide or following a tool link does not generate media; review every paid result before using it.
Start with one character and one shot
Approve the reference, test a simple action, and keep the inputs that produced a usable result.