How to Make an AI Music Video

To make an AI music video, choose a musical passage, prepare visual references, describe the action and camera, then generate and review a short clip. This guide walks through a first attempt and shows how to use the clips in a longer music video.

LumiYingUpdated

Make your first music video clip in 7 steps

You need one MP3 or WAV passage, at least one reference image and a visual direction. Start with a 10-second test so that there is one clear musical moment to judge.

  1. Step 01 Choose the passage and export an audio clip

    Listen to the song and mark a hook, vocal entrance or instrumental phrase with a clear beginning and end. For example, export 00:32–00:42 as a separate 10-second MP3 or WAV. The tool has no audio-trimming timeline, so prepare the excerpt before uploading. Keep it within the selected model's 2–15 or 2–30 second limit and 15 MB file limit.

  2. Step 02 Prepare references that describe the same visual world

    Start with one clear image showing the performer or scene. Add supporting images only when they answer a specific question: who is the subject, where are they, or what lighting should the shot use? Upload 1–8 JPEG, PNG or WebP images. Avoid conflicting faces, outfits or art styles. In the prompt, identify the role of image 1, image 2 and any other reference.

  3. Step 03 Turn the musical moment into a shot brief

    Describe subject, action, camera and mood in that order. Instead of 'make an epic music video', write 'the singer takes two relaxed steps on the rooftop while the camera moves slowly sideways in warm afternoon light'. Add what should stay consistent. For a first test, use one action and one camera move; add cuts only when you can explain their purpose.

  4. Step 04 Choose model, duration and aspect ratio

    Open AI Music Video Generator and select an available audio-input model. Check its audio limits, upload your music and references, and paste the brief into Visual direction. For the 10-second excerpt, choose a 10-second output. Use 16:9 for a landscape video or 9:16 for a portrait social clip, with references composed for that frame. Output is 720p; review the displayed credit cost before generating.

  5. Step 05 Generate one version and review it with sound

    Generate the clip, then watch its opening, middle and ending. Check whether the subject remains recognizable, the camera move is readable and the final frame is useful. Listen separately for changed vocals, altered musical timing or unwanted sound. Audio guides the model; exact preservation of the original recording and precise cuts on every beat are not guaranteed.

  6. Step 06 Fix one issue at a time

    Use Re-edit to restore the original audio, images, prompt and settings. If motion is too busy, remove extra actions or cuts. If the character changes, reduce conflicting references and state the identity details to retain. Keep a useful take before changing the brief. Re-edit prepares the form; generating the next version uses credits again.

  7. Step 07 Download the clip or build a longer music video

    Download a useful version. For a full song, plan a few passages and visual beats, generate the required clips and place them in a video editor. Put the original song on the editor's audio track, arrange and trim the clips above it, and make cuts where they serve the phrasing. Use consistent framing and color across clips. This tool generates individual clips; final assembly and lyric titles happen in your editor.

Prepare the inputs and choose useful settings

Make these decisions before generating. More references and more cuts are helpful only when they give the model a clearer instruction.

What to upload

Music
One clean MP3/WAV excerpt, such as a 10-second hook; within the model's duration limit and 15 MB.
Export the part you want to visualize. A full song does not tell a short-clip model which passage matters.
Main visual reference
One clear portrait, performer image or scene image in JPEG, PNG or WebP.
Use an image that already matches the intended subject and framing. Small or unclear faces are harder to judge later.
Extra references
Up to 8 images in total. Describe each image's role; follow the file limits shown in the uploader.
An outfit, location or lighting reference can help. Several unrelated performers can create ambiguity.
Visual direction
Subject + visible action + camera move + atmosphere + details to retain.
The image supplies appearance. The text should explain what changes over time.

Settings for the first attempt

Duration
Start with 10 seconds and an audio excerpt of the same length.
One short phrase makes it easier to judge motion and sound before spending credits on more attempts.
Aspect ratio
16:9 for landscape; 9:16 for a portrait clip. Compose your reference for the chosen frame.
A wide scene does not automatically become a well-framed vertical shot.
Camera and cuts
Begin with one slow push, lateral move or orbit.
A simple shot makes it easier to identify what failed. Add a purposeful cut after the basic look works.
Sound and export
Review the generated soundtrack; keep your original song for the final edit.
If the recording must remain unchanged, use the original audio in your video editor rather than assuming a reference recreates it exactly.

Two complete briefs you can load

These presets load the reference image, prompt, duration and aspect ratio. Add your own matching audio passage and check the credit estimate before generating.

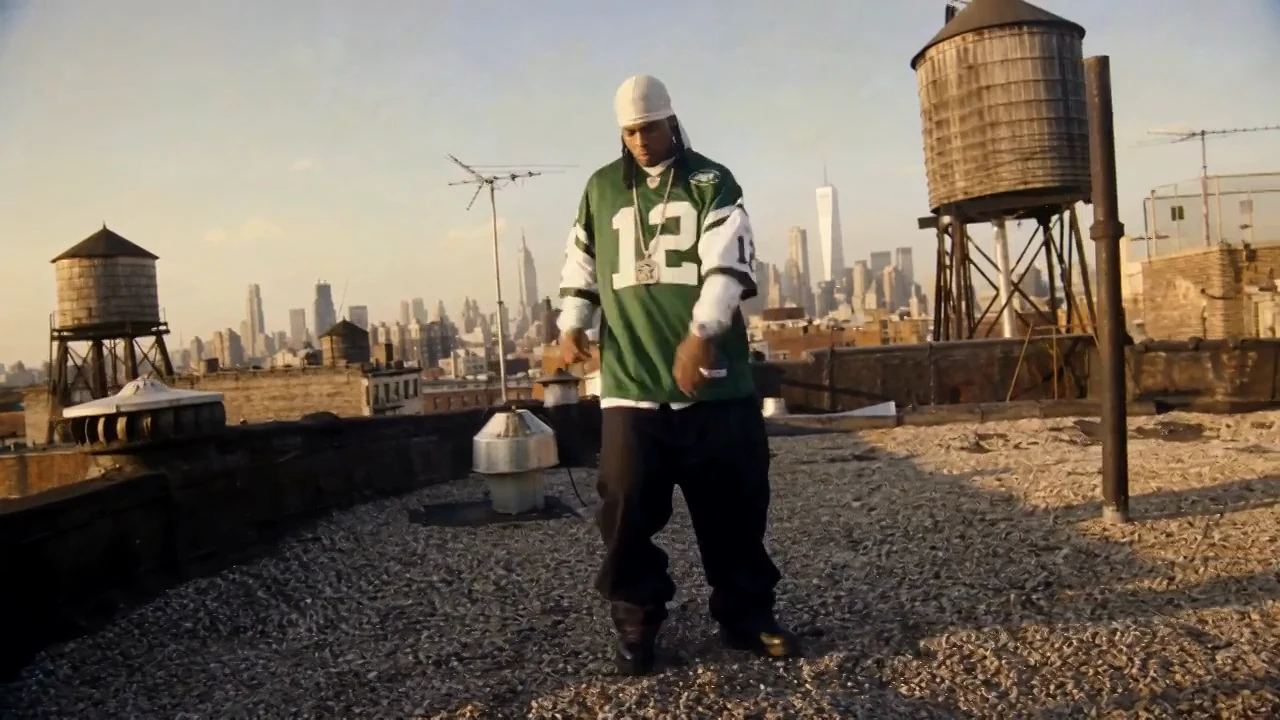
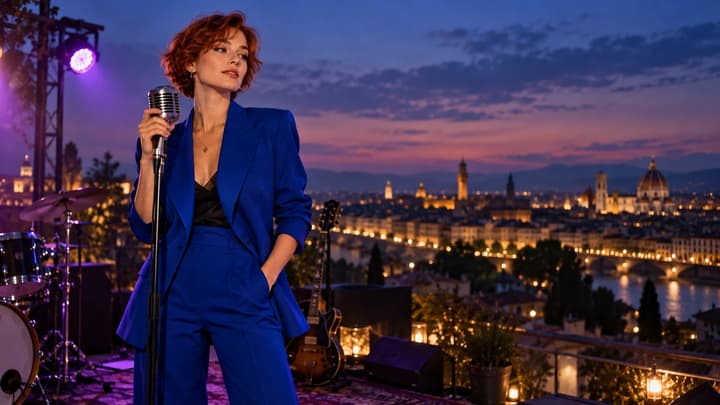
10-second rooftop teaser

Rooftop performance — Reference image
10-second rooftop teaser

Use image 1 for the performer, outfit and rooftop setting. Create a 10-second performance shot in warm afternoon light. The performer takes two relaxed steps while the camera tracks slowly sideways, ending on a stable medium shot. Follow the energy of the uploaded music. Preserve the face and clothes; no unrelated dialogue or on-screen text.

Prepare a 10-second hook, load this brief and choose 16:9. This isolates one subject action and one camera move. Review the face and outfit across the whole clip, then listen for changes to your music. If it feels rushed, keep the camera move and remove the steps.

Load this brief

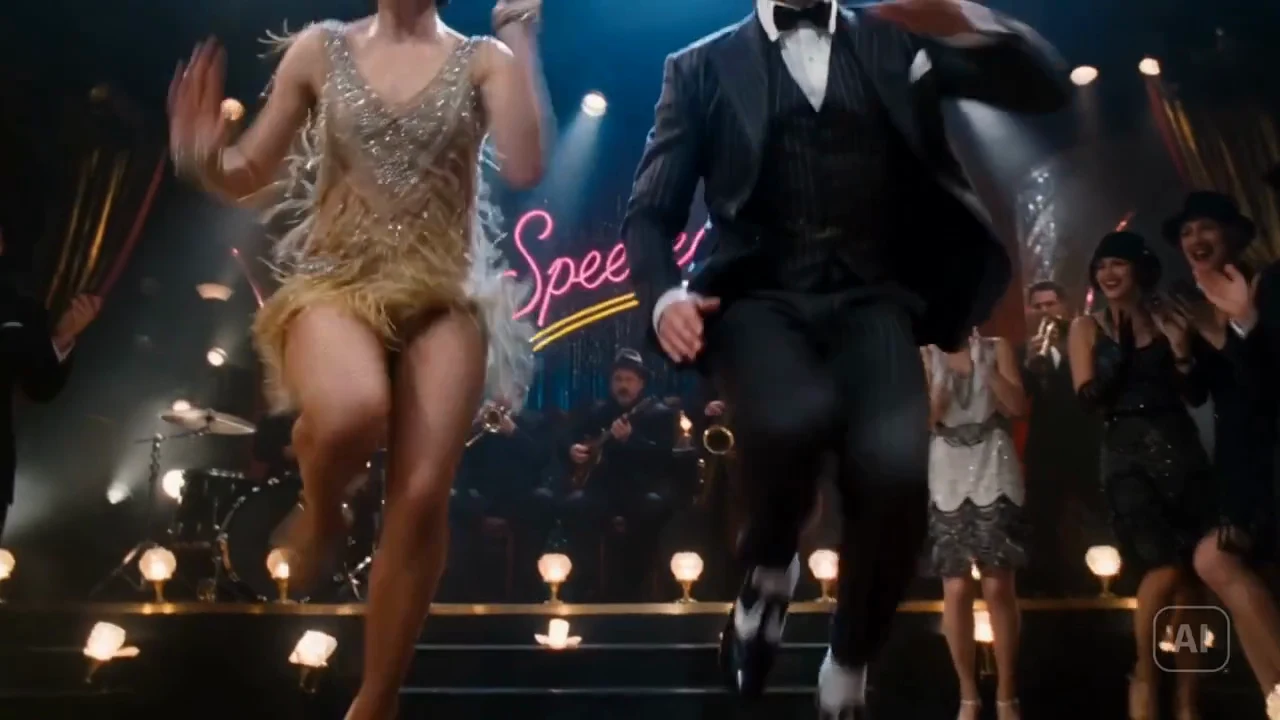
15-second jazz performance

Vintage jazz club — Reference image
15-second jazz performance

Use image 1 for the two dancers, their outfits and the jazz-club setting. Open on a wide shot, move closer to the dancers, then make one brief cut to their footwork before returning to a clear two-person view. Keep the warm stage lighting and follow the phrasing of the uploaded jazz excerpt. Preserve both dancers; no captions or unrelated dialogue.

Prepare a 15-second phrase and choose 16:9. Start with one wide shot if this version makes too many cuts. Check that both dancers remain distinct and that the footwork detail belongs to the same scene. The prompt guides the cut; playback tells you whether the timing is useful.

Load this brief

Watch the examples and notice what the camera does

Compare these public music-video demos for performance, shot changes and atmosphere. Load a reference image and a suggested prompt to try the visual direction with your own music.

Backstage to spotlight

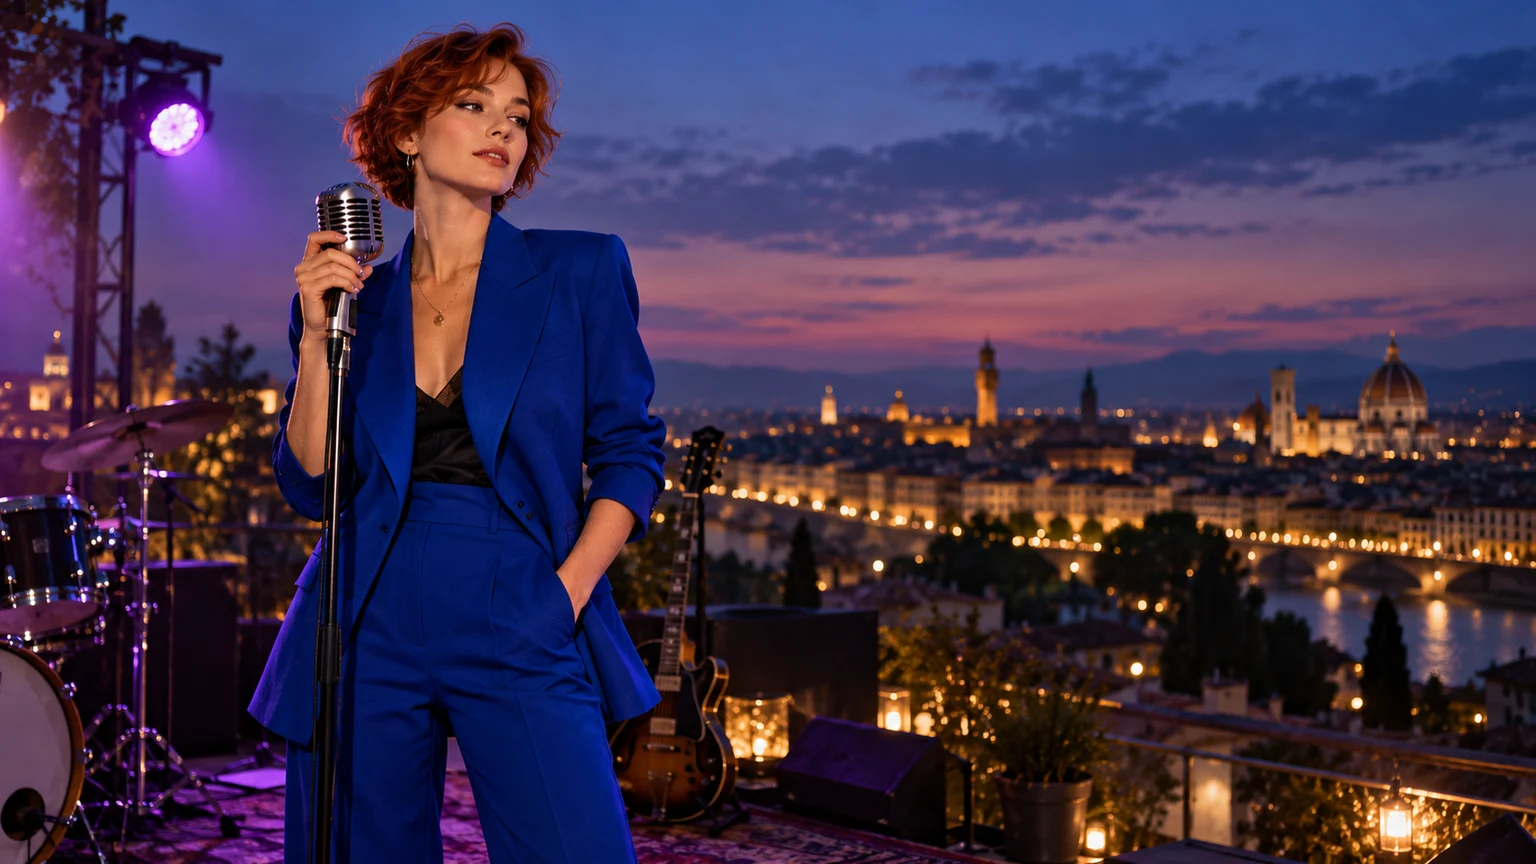
A continuous camera move follows a singer onto the stage. Demo: ByteDance. Watch how the continuous camera move connects the dressing room and stage. For a shorter test, choose only one part of that journey.

Reference image
Public demo
Suggested direction

Follow the singer from the dressing room toward the stage in one smooth tracking shot. Keep her appearance consistent and let movement follow the energy of the uploaded music.
Use this visual direction

Vintage jazz club

Dance, close-ups and warm stage lighting shape a lively performance. Demo: ByteDance. Watch the change between wide performance shots and footwork details. Give each cut a clear purpose instead of asking for constant scene changes.

Reference image
Public demo
Suggested direction

Create a vintage jazz-club dance scene. Keep the two dancers recognizable, alternate a wide performance shot with a brief footwork detail, and follow the uploaded music's lively phrasing.

Use this visual direction

Rooftop performance

A rooftop setting keeps the performer at the center of the frame. Demo: Freebeat. Watch how the location and performer stay readable during the movement. A simple background makes changes to the subject easier to spot.

Reference image
Public demo
Suggested direction

Keep the performer on the rooftop. Use relaxed rhythmic movement and a slow lateral camera move, with natural afternoon light and the mood of the uploaded track.

Use this visual direction

What to change when the first clip is not useful

Identify the failure before retrying. Keep the successful inputs and change one cause at a time.

The face or outfit changes
References may conflict, or the brief asks for too many actions.
Use a clear main reference, name the details to retain and simplify movement. Compare the beginning, middle and end again.
The music or vocal sounds different
The model is generating with an audio reference.
Keep the useful visuals and use the original recording in your final editor. Do not judge exact soundtrack preservation from a short preview alone.
The clip feels rushed
Too many actions or cuts compete within the selected duration.
Remove one action or cut. Keep one clear performance beat and a stable finishing shot.
The cut misses the musical phrase
Prompt timing is being interpreted rather than placed on an exact timeline.
Describe the intended transition more simply. For precise timing, trim or move the downloaded clip against the original track in an editor.
The upload or generation is blocked
Audio length, file size, image count or credits may be outside the accepted limits.
Read the field error, keep references at 8 or fewer and use a supported excerpt. Recheck the current quote before submitting again.
Frequently asked questions

Frequently asked questions

Can I make a music video from just a song?

This workflow requires at least one visual reference and a scene description as well as audio. Use a performer image for a performance video or a landscape for an instrumental track, then describe the motion.

How do I make a full-length AI music video?

Break the song into useful passages, plan the visual beats and generate short clips for them. Assemble those clips against the original song in a video editor. This generator does not automatically divide, arrange or join a whole song.

Do I need eight reference images?

No. Start with one strong reference. Add images only for a specific subject, location or style detail, up to eight total, and explain their roles in the prompt.

Can I keep the original song exactly?

The upload is an audio reference and the output may differ. To preserve the recording in a finished video, use your original song as the final soundtrack in your editor and align the selected clips to it.

How do I add lyrics or exact beat cuts?

Review and download the visuals first, then add timed lyrics and precise cuts in your editor. The generator accepts musical and shot directions but has no lyric-caption editor or beat timeline.

What does loading an example do?

It fills the visual reference and suggested direction. The worked briefs also set duration and aspect ratio. You supply your own music; loading a preset does not start a paid generation.

Give your next musical phrase a scene

You need one MP3 or WAV passage, at least one reference image and a visual direction. Start with a 10-second test so that there is one clear musical moment to judge.