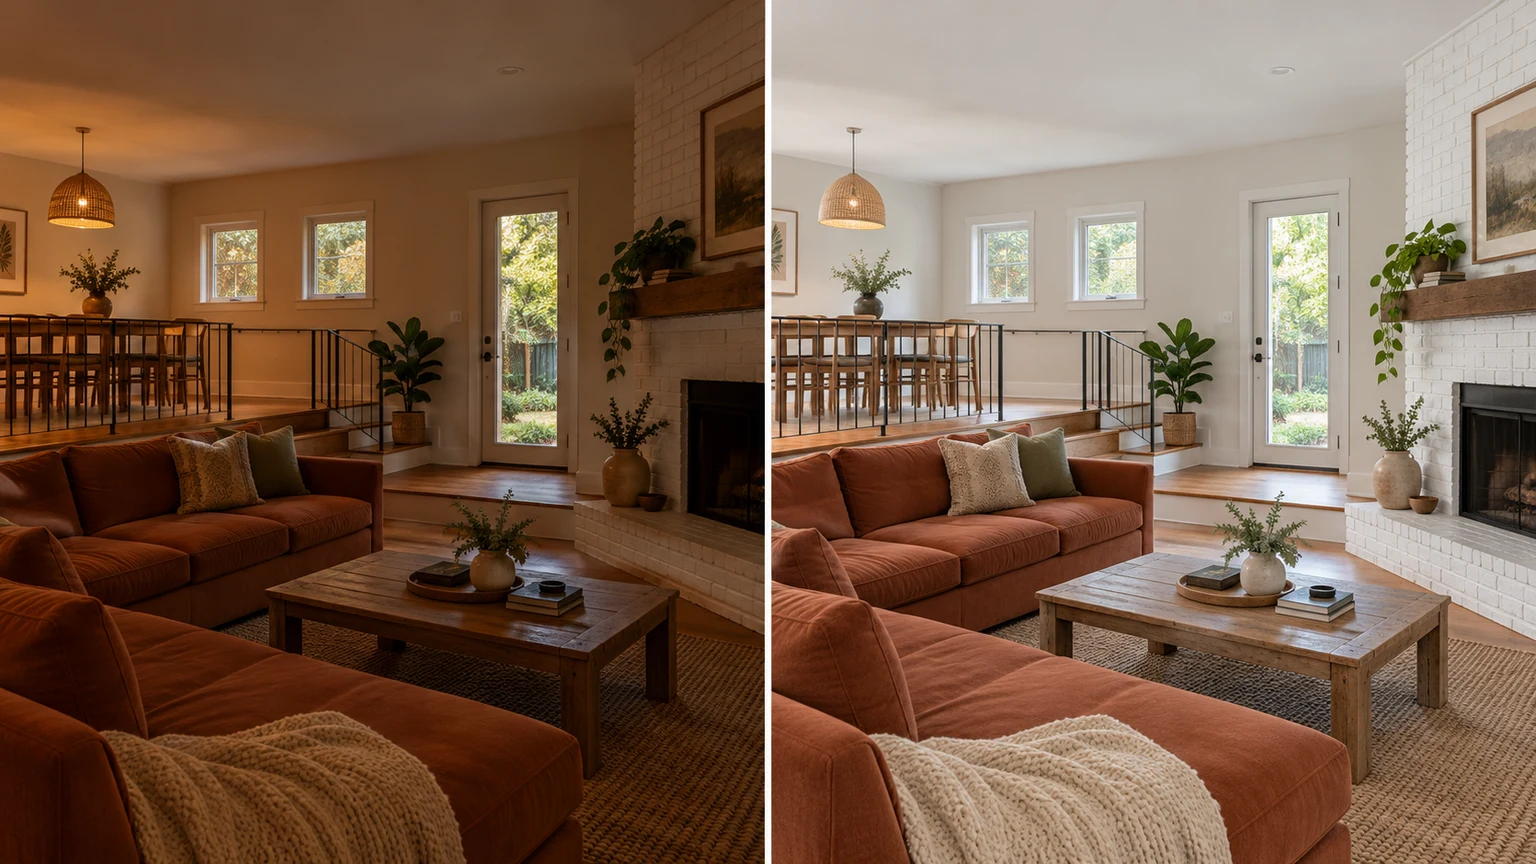
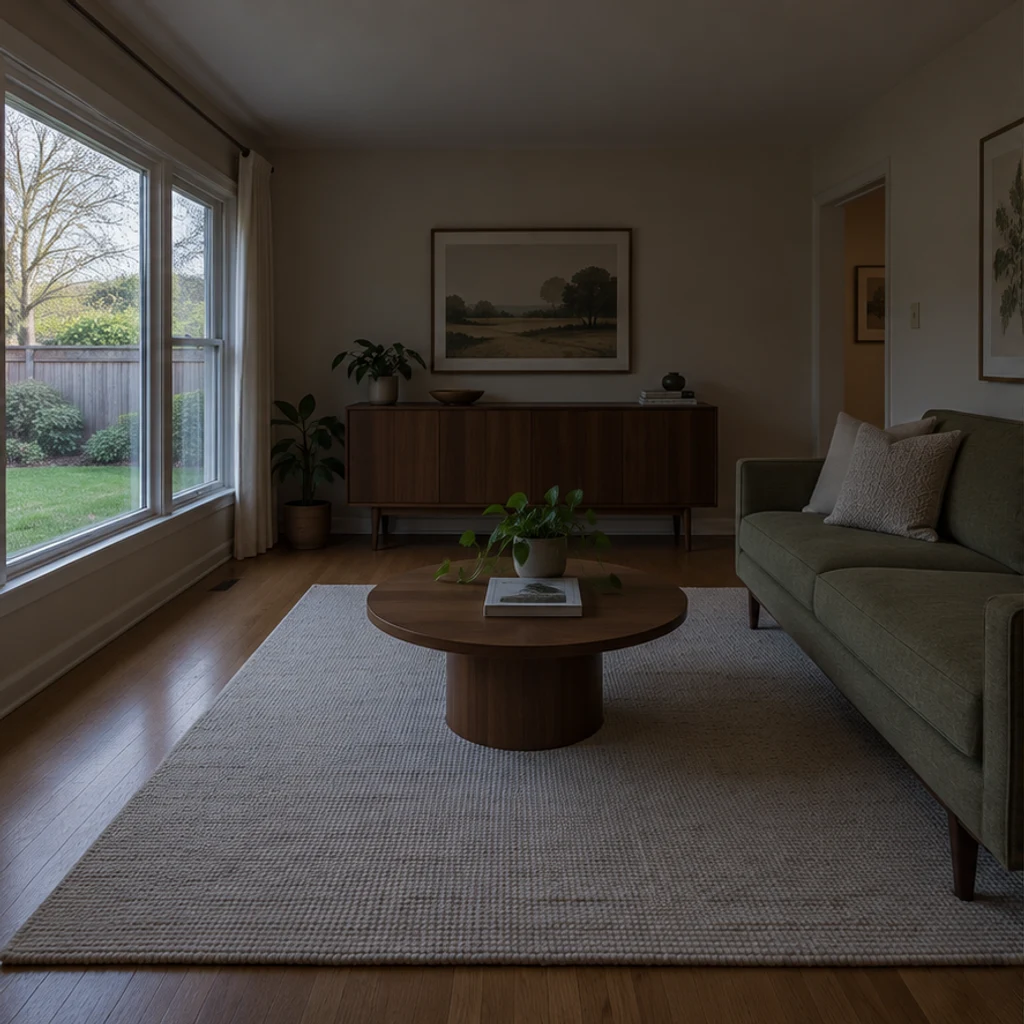
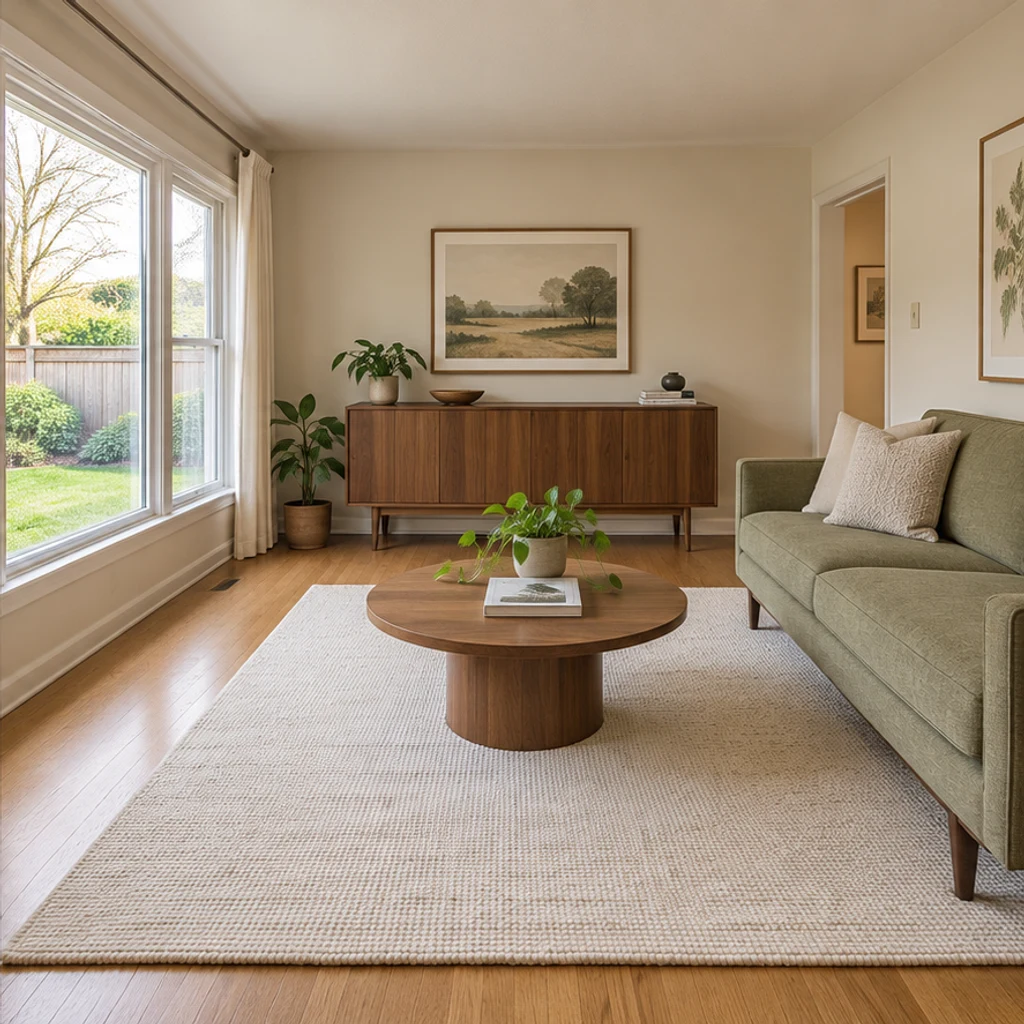
A brighter mid-century living room
Load this exampleOpen dark interior shadows while keeping the sage sofa, walnut cabinet and garden view.
A brighter property photo is useful only if it still shows the same property. Start by identifying the photographic problem: a dim room, a strong color cast or a specific loose object. Keep the original beside each result and check the building before judging the polish. Single-photo AI editing can help prepare an image; it does not replace bracketed HDR, a RAW workflow or a photographer's final review.
LumiYingUpdated
Prepare a property photo, request natural exposure or color edits, and compare architectural details before using the result in a listing.
Choose a clear JPEG, PNG or WebP of an interior or exterior. Use the highest-quality source available and keep the original for comparison.
Leave Edit instructions empty for balanced exposure and natural color. For a limited edit, name the target and what must remain. Small loose objects are removed only when requested.
Check doors, windows, furniture, materials and the exterior view against the original. Re-edit with the same source or save a useful result in your generation history.
Inspect details at full size and discard any result that misrepresents the property. Confirm the disclosure and editing requirements of your listing destination; AI output is not automatically compliant.
A named target and a short keep-list make comparisons easier. Separate photographic enhancement from virtual staging or renovation.
Explore editing ideas with these AI-generated illustrations. Choose an example to load its original photo and matching instructions.
Open dark interior shadows while keeping the sage sofa, walnut cabinet and garden view.
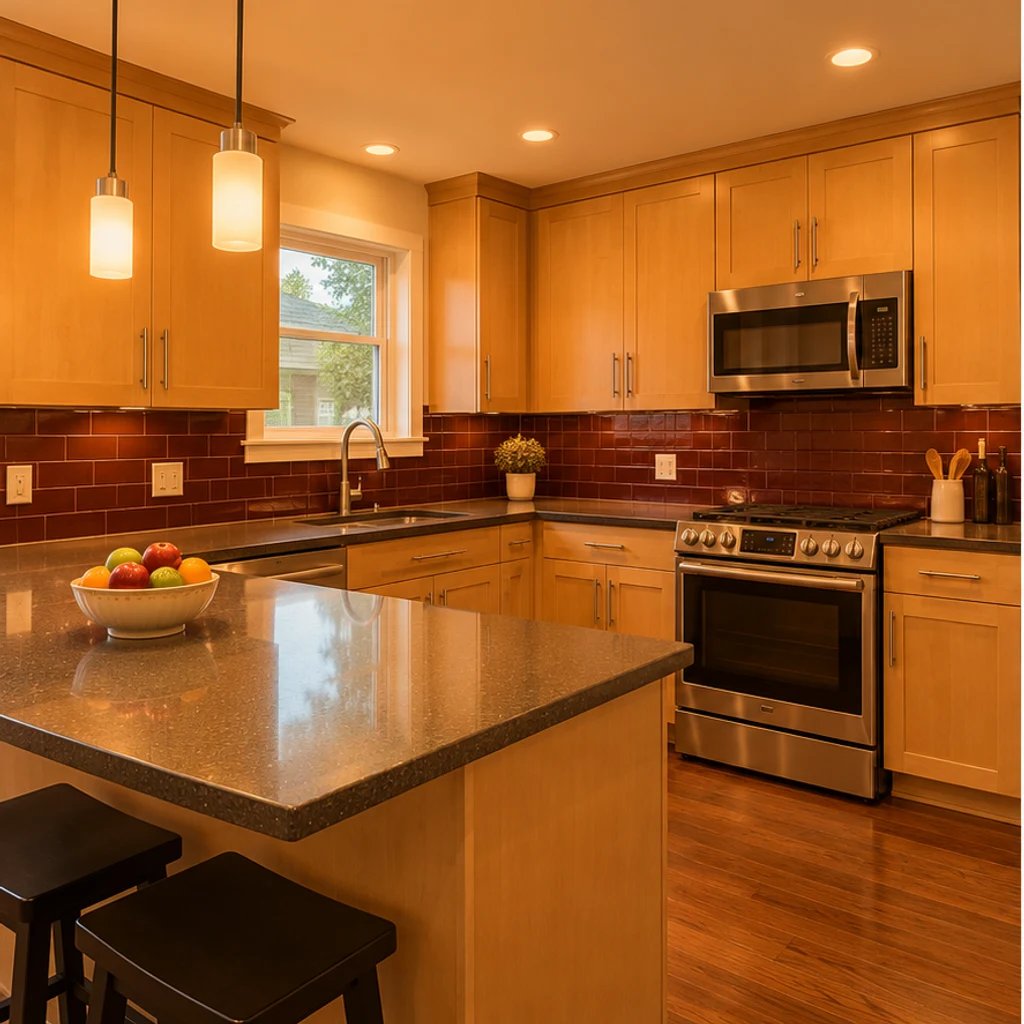
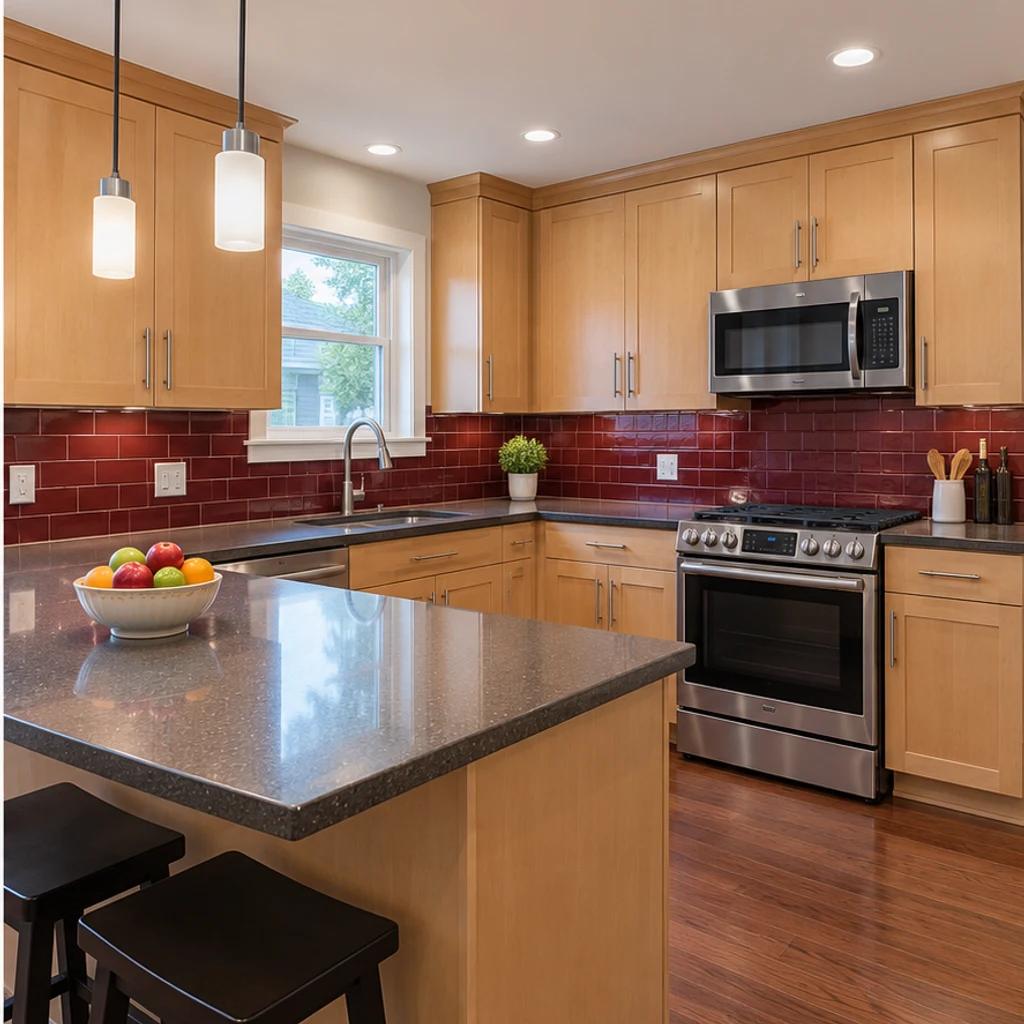
Reduce the orange cast without recoloring the maple cabinets or burgundy backsplash.
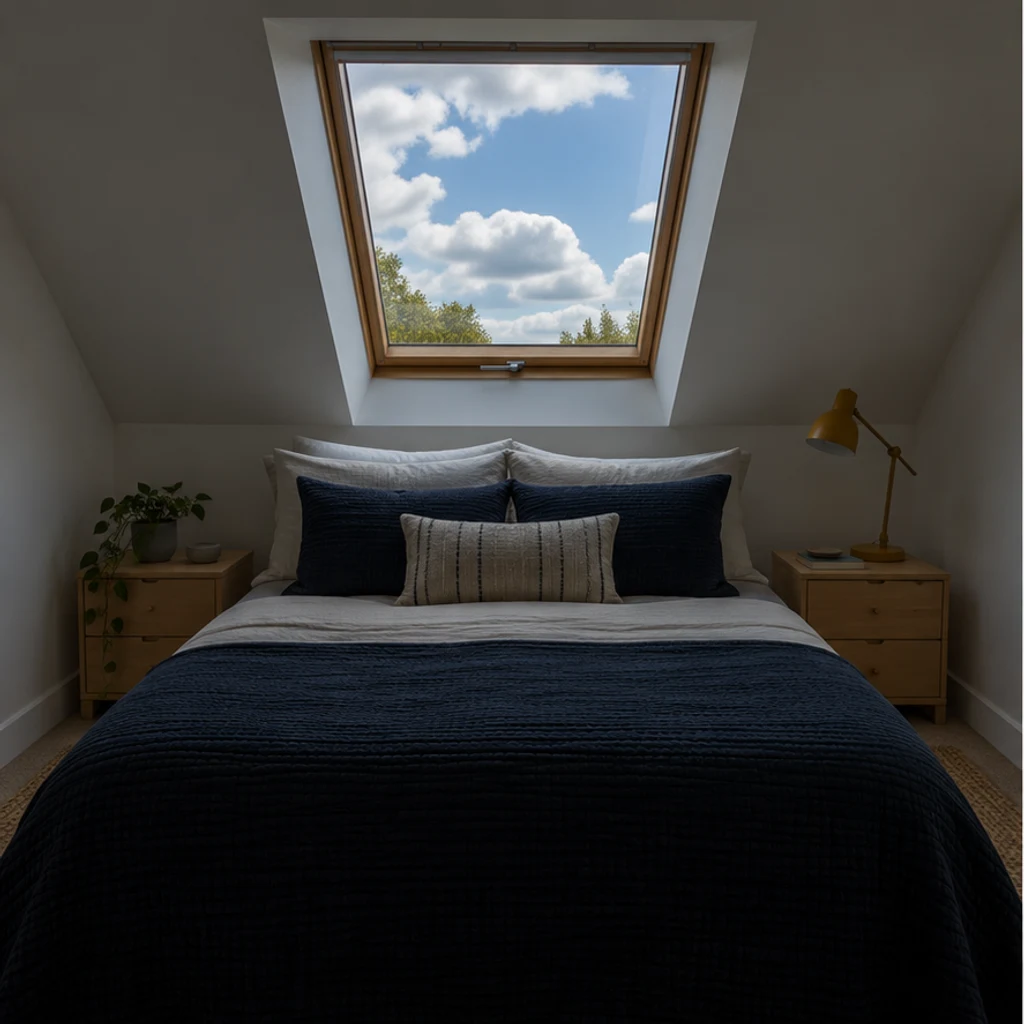
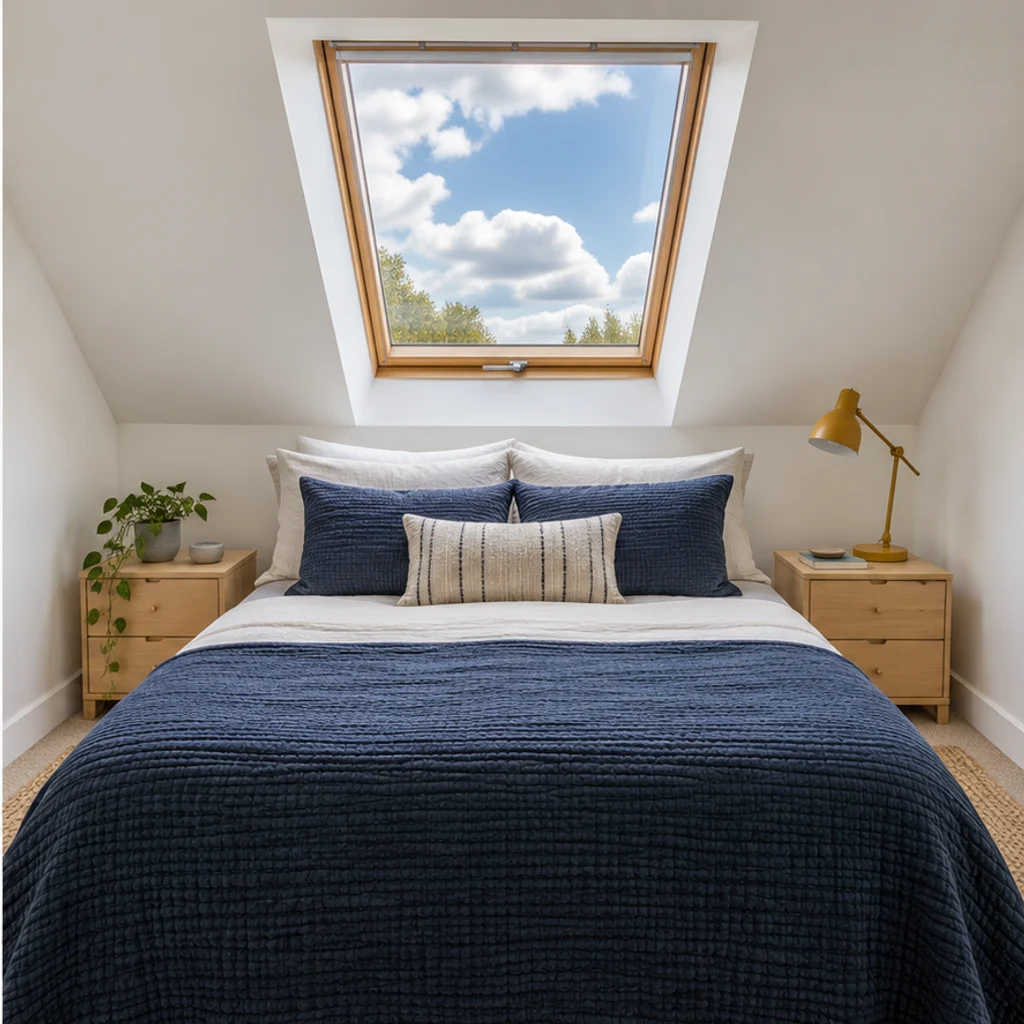
Brighten an attic bedroom without inventing a new view through its skylight.
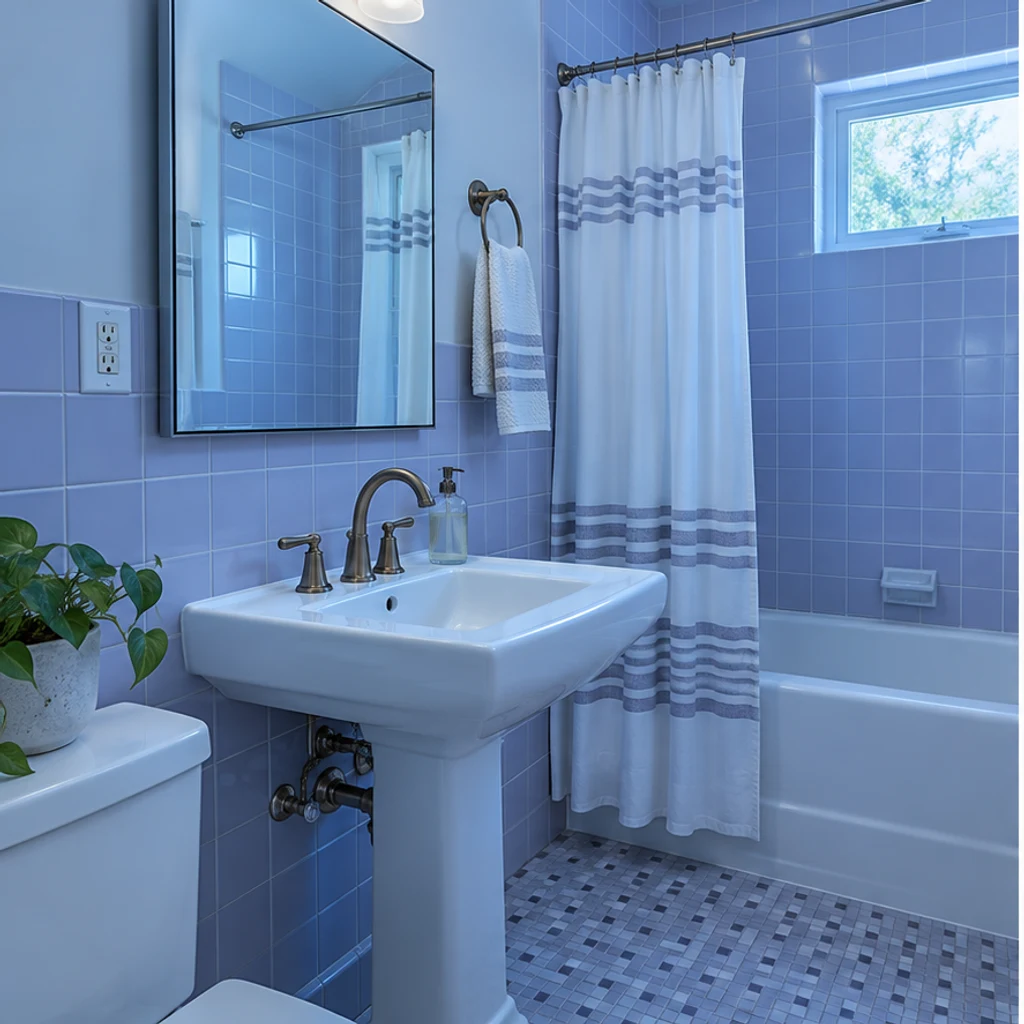
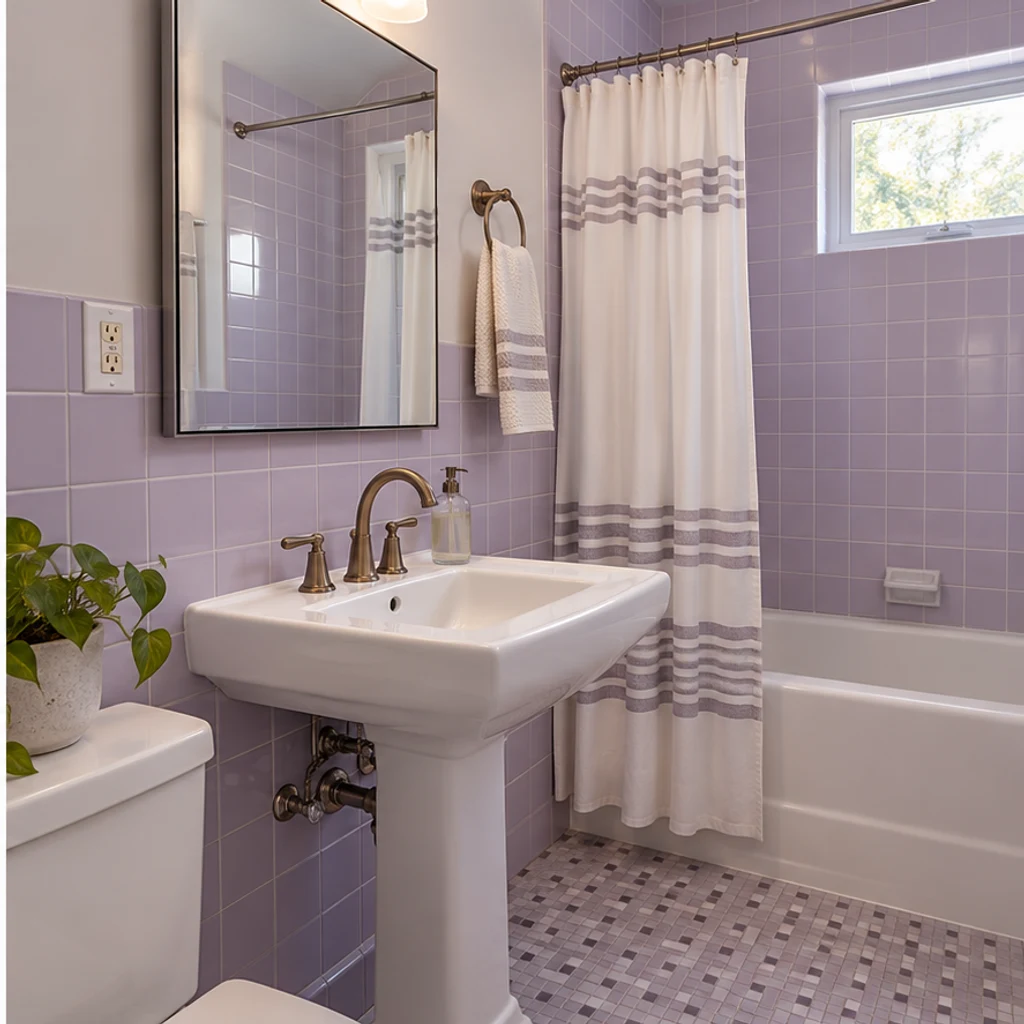
Restore natural white balance while retaining lilac tiles, bronze fittings and the mirror reflection.
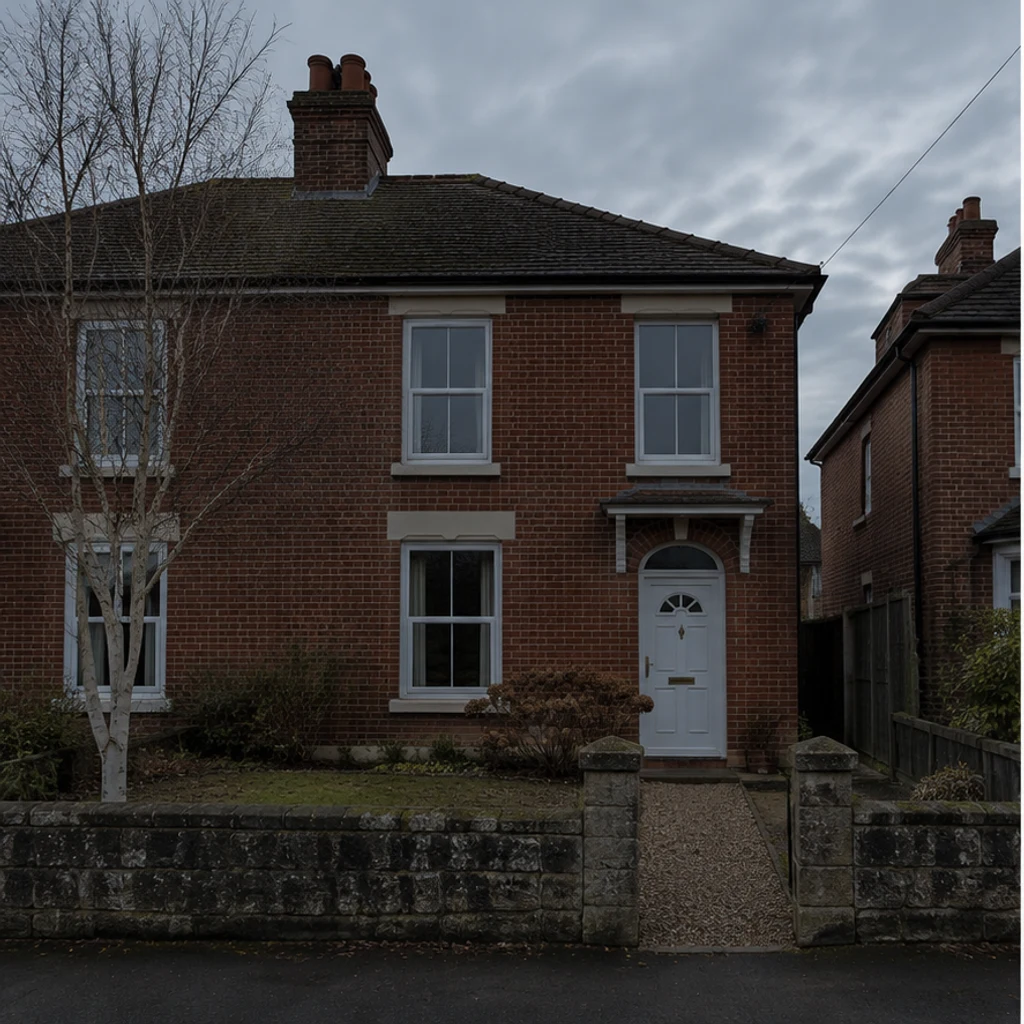
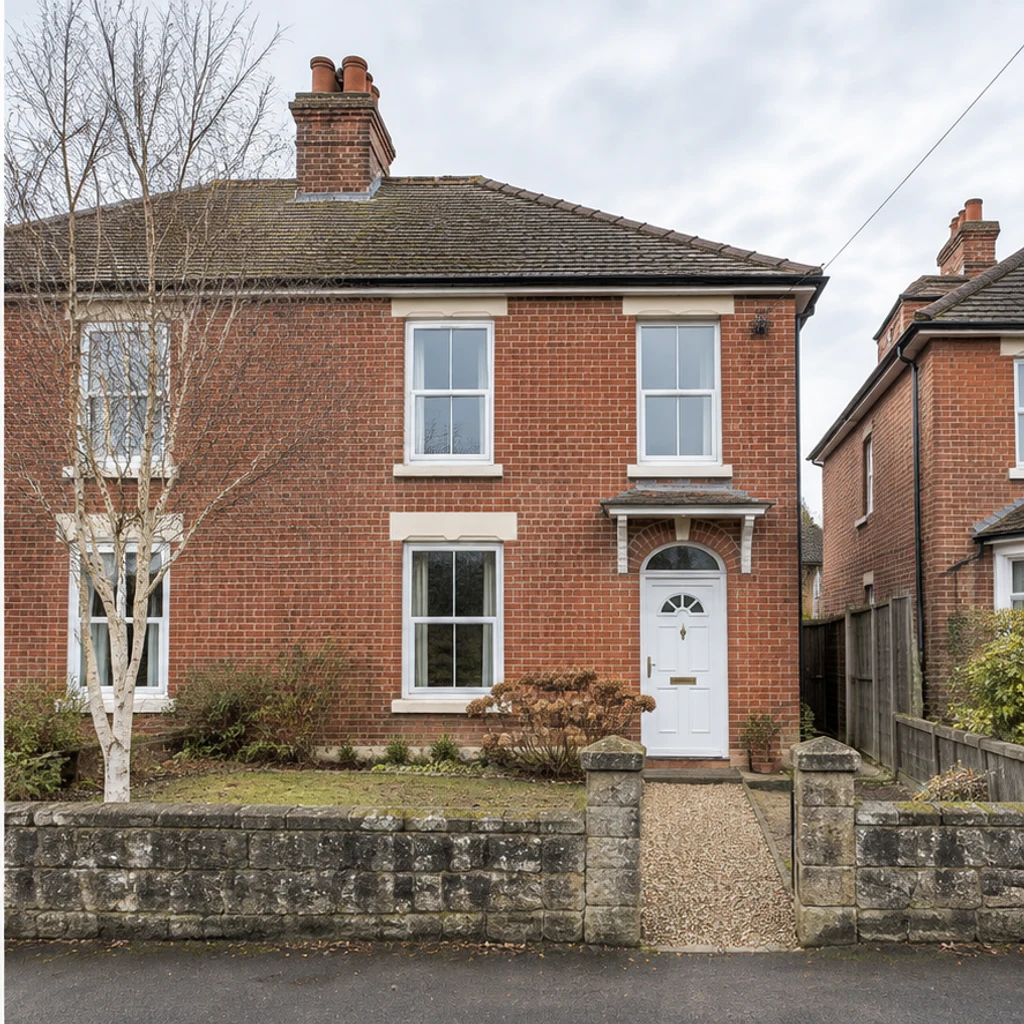
Improve exposure while keeping the brickwork, gray sky, bare tree and brown grass.
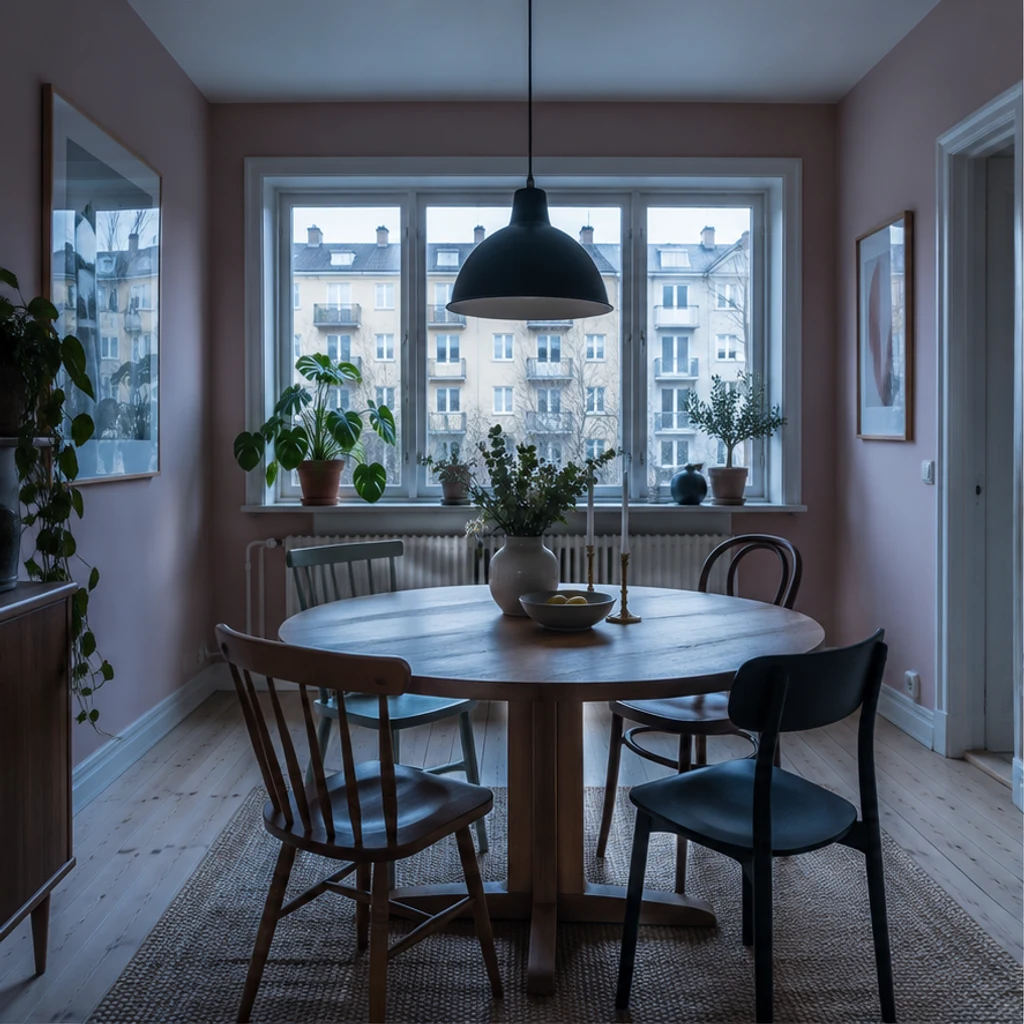
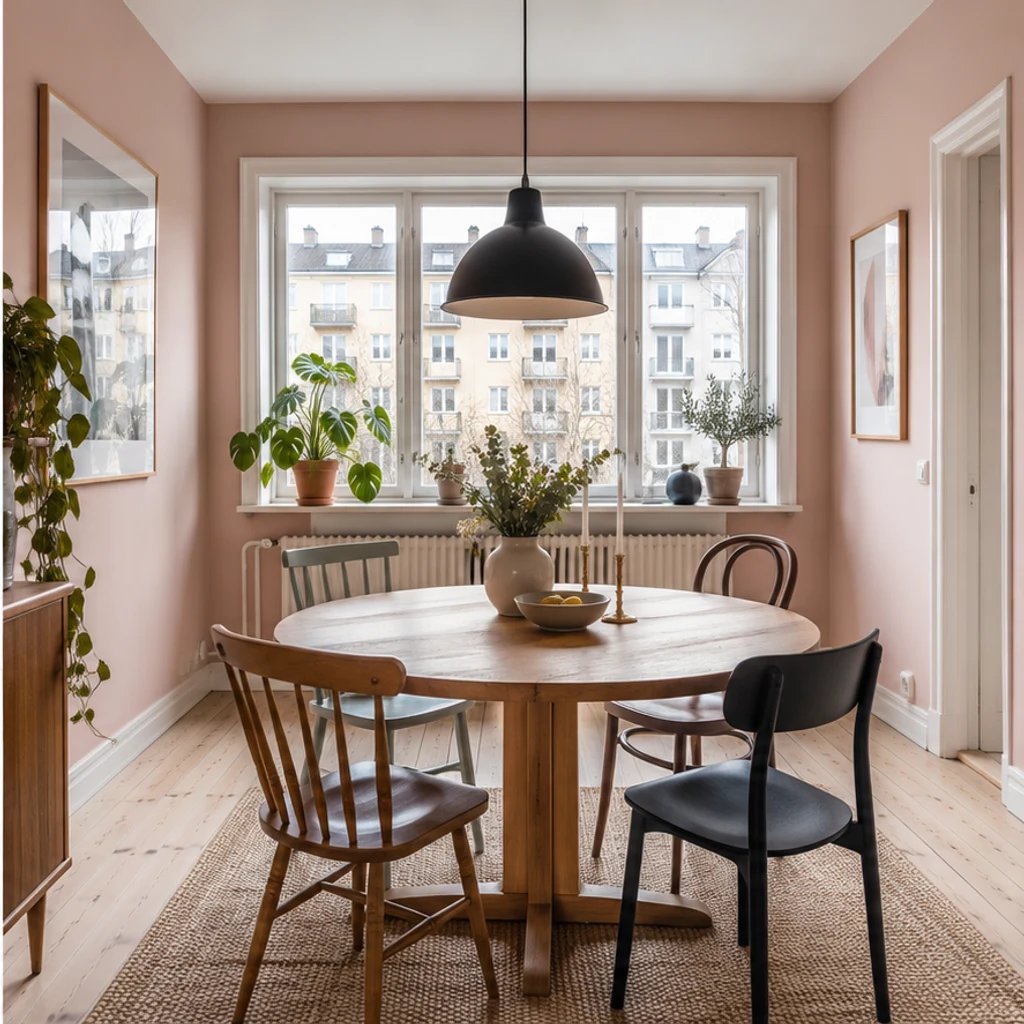
Lift muddy shadows and a cool cast while retaining pink walls and the existing city view.
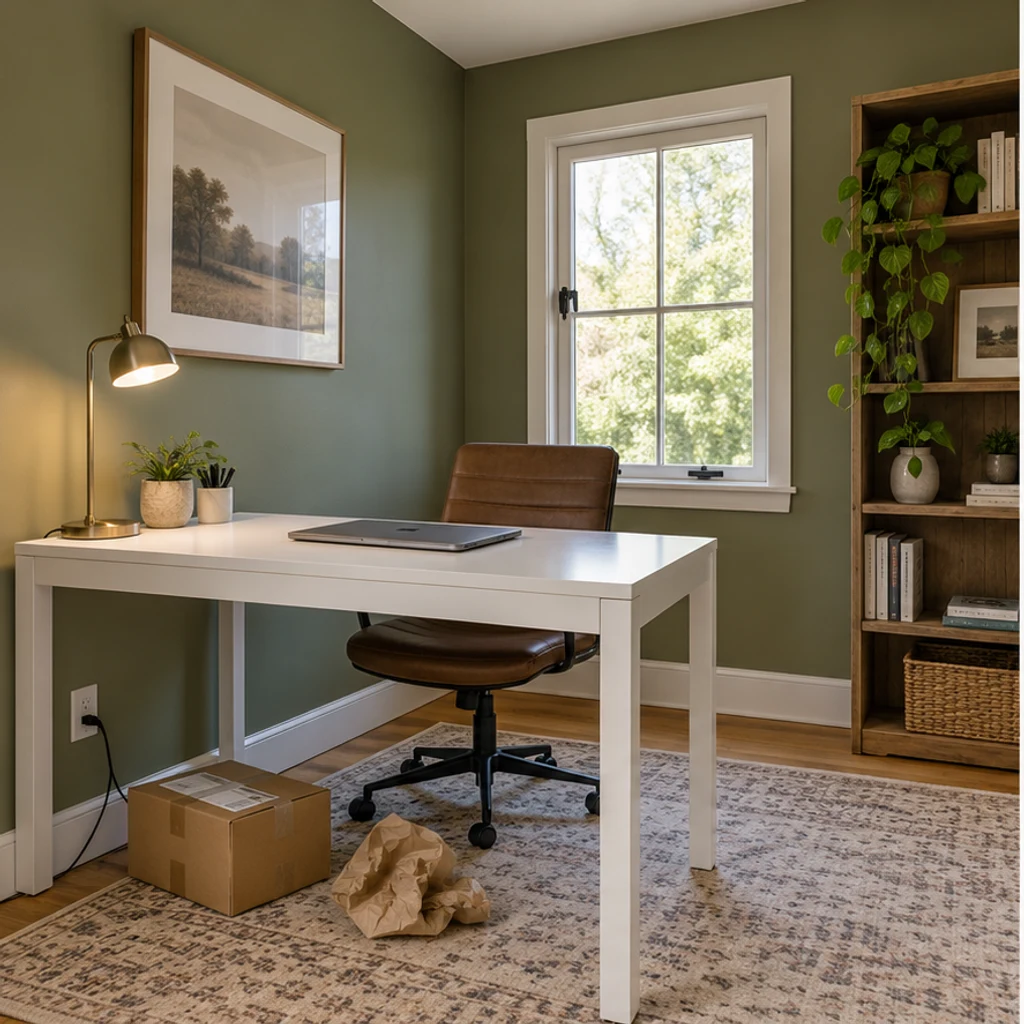
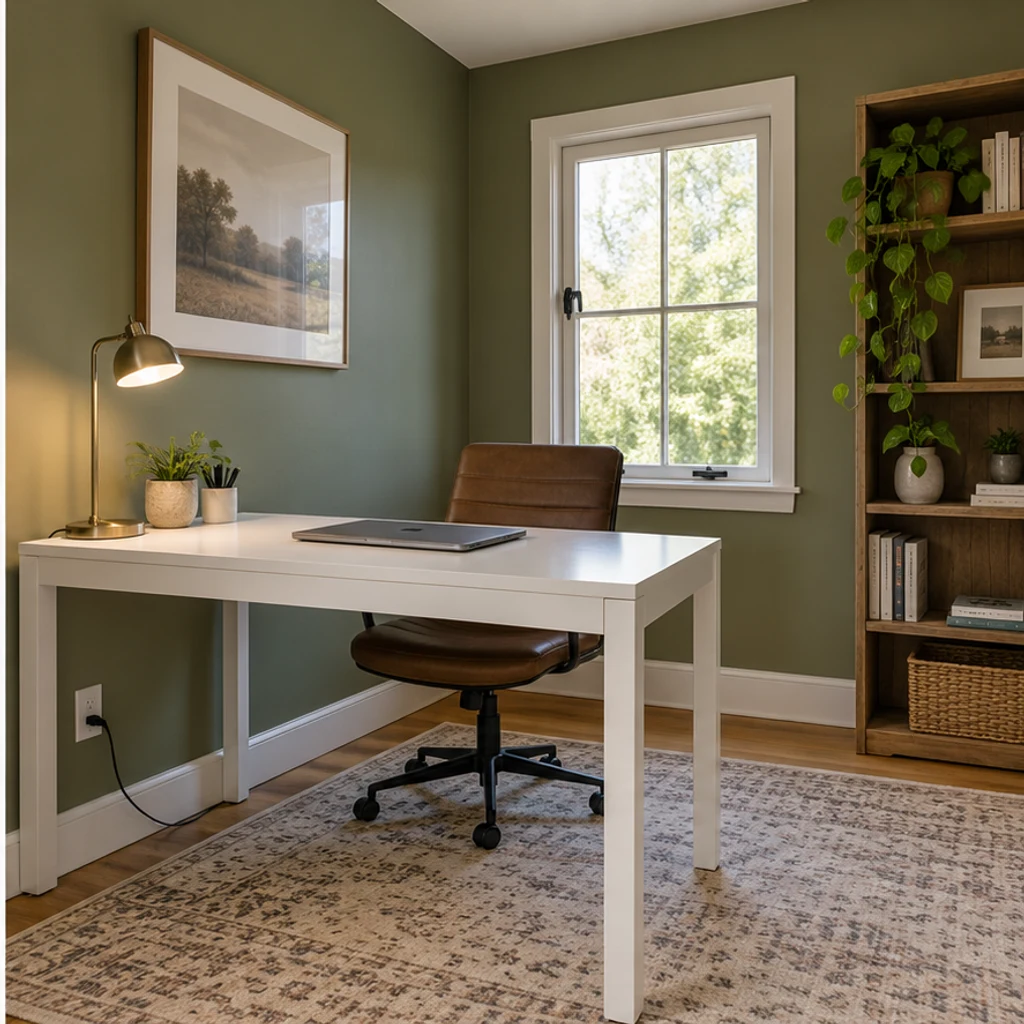
Remove the loose delivery box and packing paper, with all furnishings and lighting retained.
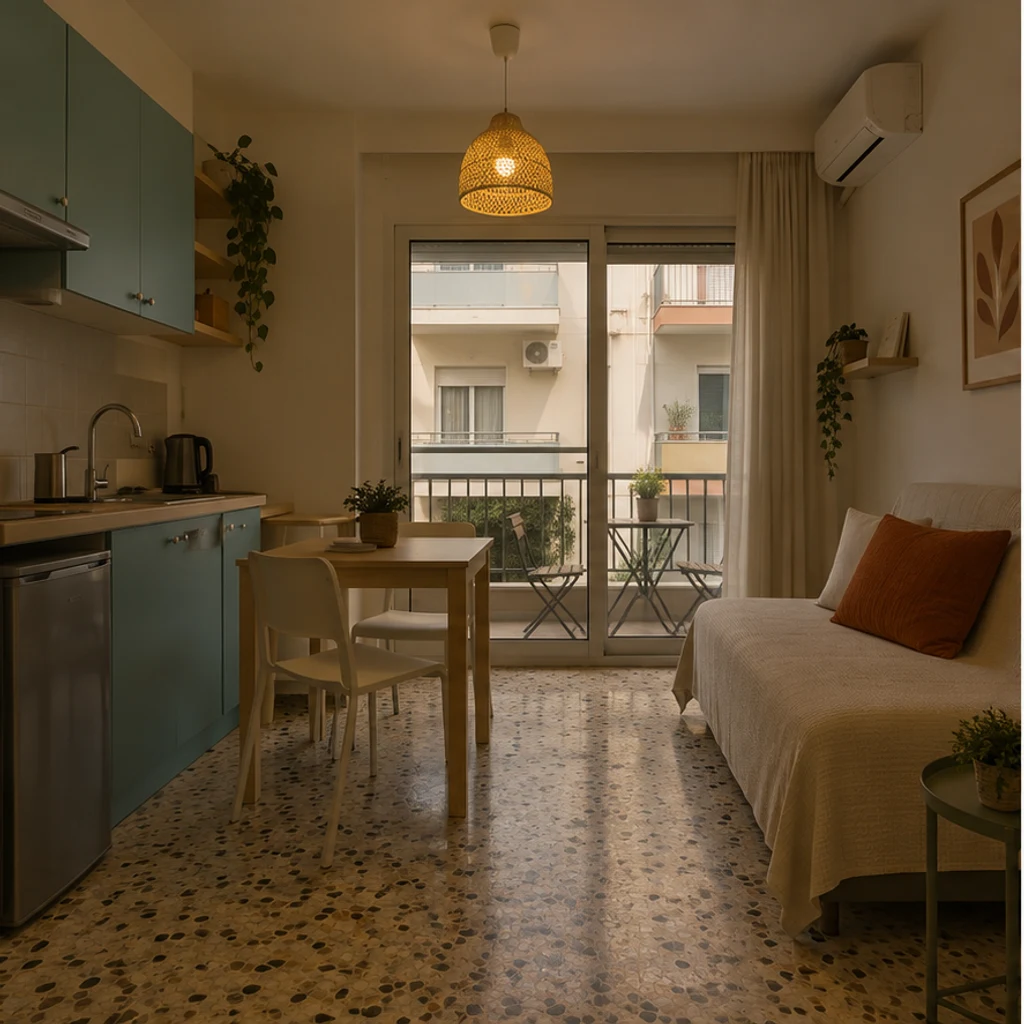
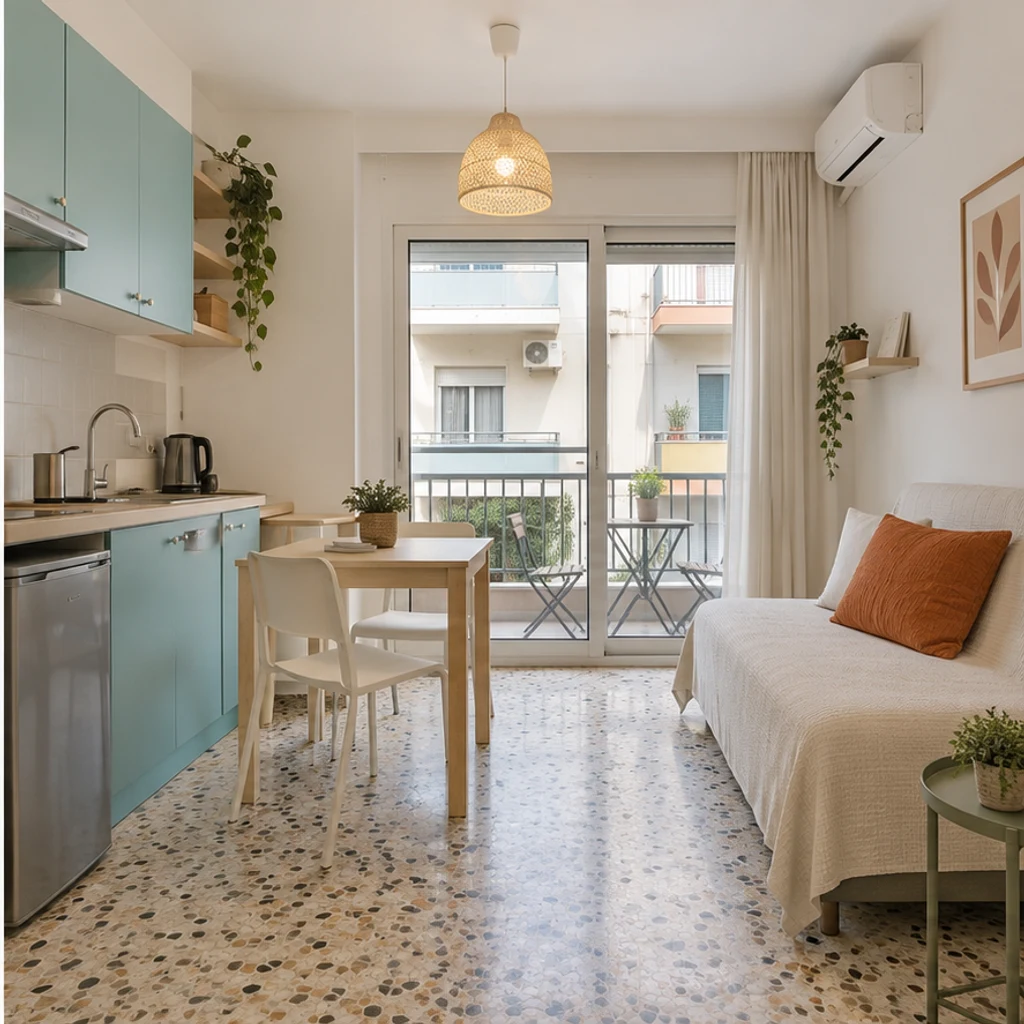
Balance a dim studio photo without changing the kitchenette, sofa-bed or balcony.
Generative edits can alter details. An attractive image still needs a careful comparison with the source before delivery.
It requests natural exposure and white-balance improvements for one property photo. It is instructed to retain layout, furnishings, finishes and the existing view. Check every result for unintended changes.
No template or second reference is needed. Upload one property photo; Edit instructions is optional. Written requests can limit the change to exposure, a color cast or a named small loose object.
You can name specific temporary objects to remove. It does not remove clutter by default or serve as an empty-room generator. Keep permanent features and visible property defects; inspect reconstructed areas.
No. It edits one JPEG, PNG or WebP. It does not merge brackets or develop RAW files, and cannot reliably recover missing window detail. Use professional photo processing when the source requires it.
This tool focuses on the existing property's photo. For adding furniture, use AI Virtual Staging; for design concepts, use the dedicated design tools. These are different editing goals.
Generation uses LumiYing credits, with the cost shown on Generate. Loading an example only fills the form and does not spend credits. Review each output and your listing platform's requirements before publishing.
Edit a property photo with AI. Balance exposure and color or request small clutter removal while keeping the original layout, furnishings and finishes.
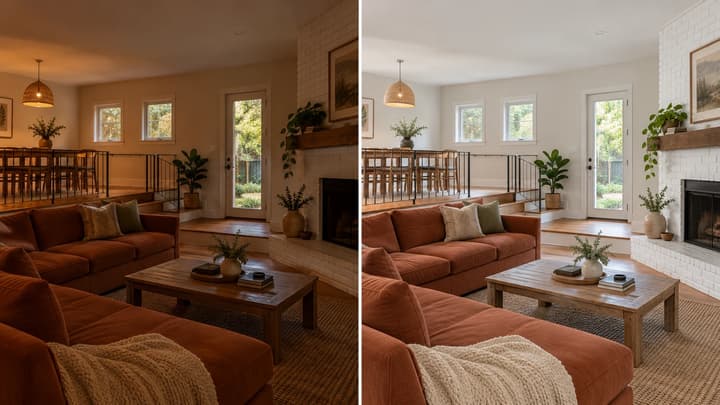
Edit a property photo with AI. Balance exposure and color or request small clutter removal while keeping the original layout, furnishings and finishes.
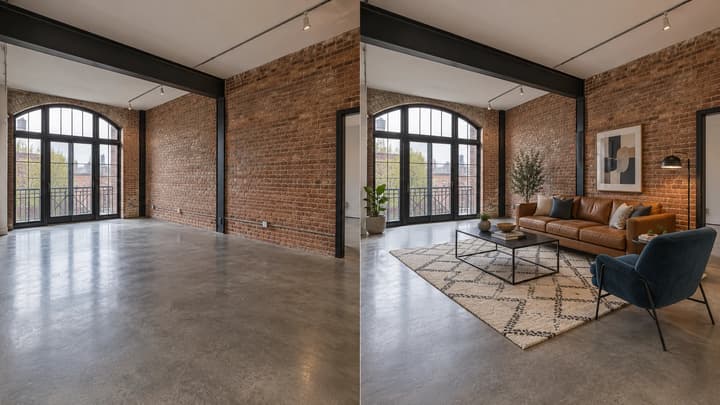
Add furniture to an empty room photo. Choose from 5 room types and 8 furniture styles, then review and download the staged image.

Change the direction and mood of light in a photo while keeping the subject, composition, text, and product details under review.
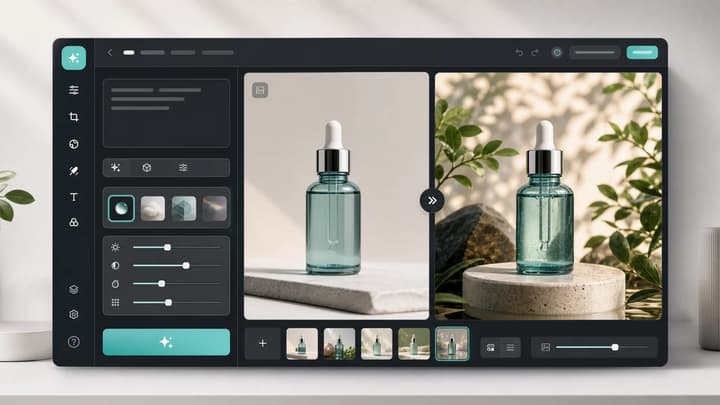
Upload an image, describe the edit, and create polished visuals for products, social posts, posters, or keyframes.
Review credits and plans before generating.
Edit a property photo with AI. Balance exposure and color or request small clutter removal while keeping the original layout, furnishings and finishes.